Let's make our own kombucha!
First... a little history.
Many years ago, while visiting a Seattle shopping mall, I wandered into a health food store. My gaze fell upon a little bottle of KOMBUCHA WONDER DRINK.

"EXPERIENCE A SENSE OF WELL-BEING" was the message on the back of the bottle. Was I interested in experiencing a sense of well-being? Sure.
But, in truth, the flavor was the reason I bought this expensive little drink. I had eaten my very first asian pear in the recent past and loved the flavor! I simply had to buy this asian pear drink. I am so glad I did. It really was a treat.
My purchase was followed by some research about kombucha. Here is a little summary I came across:


Even though my interest had been sparked about kombucha, I pretty much forgot about it for a few years.
Fortunately, I saw Ruthie (Baird) Dearborn selling kombucha starter kits at one of the earliest Sitka Farmers' Markets. I did not hesitate to make a purchase. Ruthie provided a sheet with excellent information and instructions.
With a little practice, I succeeded at making my own kombucha in a variety of flavors! |
| MANGO, LEMON GINGER, BLUEBERRY, RASPBERRY, STRAWBERRY |
What we need to get started:
1. a kombucha SCOBY (Symbiotic Colony Of Bacteria and Yeast). It looks like a slimy, brown mushroom cap. Quite a few people make their own kombucha here in Sitka. Every time kombucha is made, a new SCOBY forms. And, the old one is still usable. Ask around to find out from whom or where to acquire a SCOBY. You will want your SCOBY to be accompanied by two cups of starter tea.
2. a clean container
3. tea bags
4. sugar
5. water
The kombucha guide below will help you determine how much you will need of the things listed above:

There are several different teas compatible with kombucha. Here is some excellent information to help you choose:

Below is an explanation of how I made my own kombucha step by step...
NOTE: Because Sitka is located in a moist rainforest, it can easily be described as a somewhat "moldy" place to live. So, I encourage you to wash your hands well whenever preparing your kombucha to prevent introducing any mold.
NOTE: Because Sitka is located in a moist rainforest, it can easily be described as a somewhat "moldy" place to live. So, I encourage you to wash your hands well whenever preparing your kombucha to prevent introducing any mold.
Not a bad idea to do this wherever you live.
Mold will ruin your kombucha.
And then, just to be on the safe side, rinse your hands, jars and utensils with distilled white, mold-defying vinegar. I leave a little in a cup to dip my fingers into throughout the process:

1. ONE SCOBY AND TWO CUPS OF STARTER TEA
I stored SCOBIES and starter tea together in a large jar at room temperature out of sunlight. It was saved from previously made batches of kombucha.

2. A CLEAN ONE GALLON JAR, PREFERABLY GLASS.

Mold will ruin your kombucha.
And then, just to be on the safe side, rinse your hands, jars and utensils with distilled white, mold-defying vinegar. I leave a little in a cup to dip my fingers into throughout the process:

LET'S GATHER TOGETHER THE 5 ITEMS LISTED EARLIER AND BEGIN.
(This will be a one gallon demonstration).
1. ONE SCOBY AND TWO CUPS OF STARTER TEA

2. A CLEAN ONE GALLON JAR, PREFERABLY GLASS.

3. TEA BAGS
Which tea bags you use and the number of bags is a matter of taste. I experimented quite a bit and personally prefer four green tea bags and two black tea for a one gallon preparation.

4. SUGAR
One cup per gallon jar works well.

5. WATER
Distilled water is recommended more often than not. I like to use boiled river water. Some people I know prefer water from the artesian well. Others simply use Sitka tap water. Whatever the water source you choose, you will need 14 cups. In a pot or kettle, bring the 14 cups of water to a boil.
I use a large stainless steel pot with a lid.

Once the water comes to a boil, shut off the heat and add the tea bags and sugar. Stir it all gently and cover it with the lid.
Let it sit there for about 30 minutes before removing the tea bags with a clean utensil. Discard the tea bags and put the lid on.
Let it sit there for about 30 minutes before removing the tea bags with a clean utensil. Discard the tea bags and put the lid on.
After removing the tea bags, cover the liquid again and let it cool down to room temperature.
Once it has reached room temperature, pour this tea mixture into your gallon container.
Now add the two cups of starter tea and stir with a clean utensil.
Finally, drop in the SCOBY.

Once it has reached room temperature, pour this tea mixture into your gallon container.
Now add the two cups of starter tea and stir with a clean utensil.
Finally, drop in the SCOBY.

To keep out bugs, mold and dust, cover the container with a clean cloth, paper towel or coffee filter. Hold it in place with something like a string or rubber band.

Choose an out of the way location in your home... out of direct sunlight where the air temperature is around 65 to 80 degrees. It needs to brew (ferment) for around 7 to 14 days.The cooler it is where you set it, the longer it takes. You will determine when it is ready to drink by doing taste tests. I like the jars with the little spigot on the bottom so I can easily taste a sample.
When you like how it tastes, you have made your own unflavored kombucha! Some people prefer unflavored kombucha. If you prefer unflavored, you are finished! Simply remove two cups of the kombucha and the 2 SCOBIES (mom and baby) and store it all in a container in the refrigerator to use when you are ready to make more kombucha. The rest can be stored for your enjoyment in your gallon jar, with a lid, in the refrigerator. Or, you can pour your remaining kombucha into smaller containers, seal and store in the refrigerator. A cool location, such as a refrigerator, will prevent any further fermenting. If it ferments too long, it gets progressively more and more sour and tastes like vinegar.
However, if you want to add flavor... now is the time to accomplish this. It requires one more step before sealing and cold storage.
If you only want to use one flavor for the entire batch you just made, you can continue to use that gallon jar of kombucha after you remove the two cups and the mom and baby SCOBIES. If simply continuing to use your gallon container, add about a cup of berries or fruit...fresh, frozen or dried. Adding two cups of your favorite juice works well, too. Put a lid on the gallon jar. If you want fizzy carbonation, let it sit 2 or 3 more days at room temperature. If not, place it in the refrigerator with a lid right away.
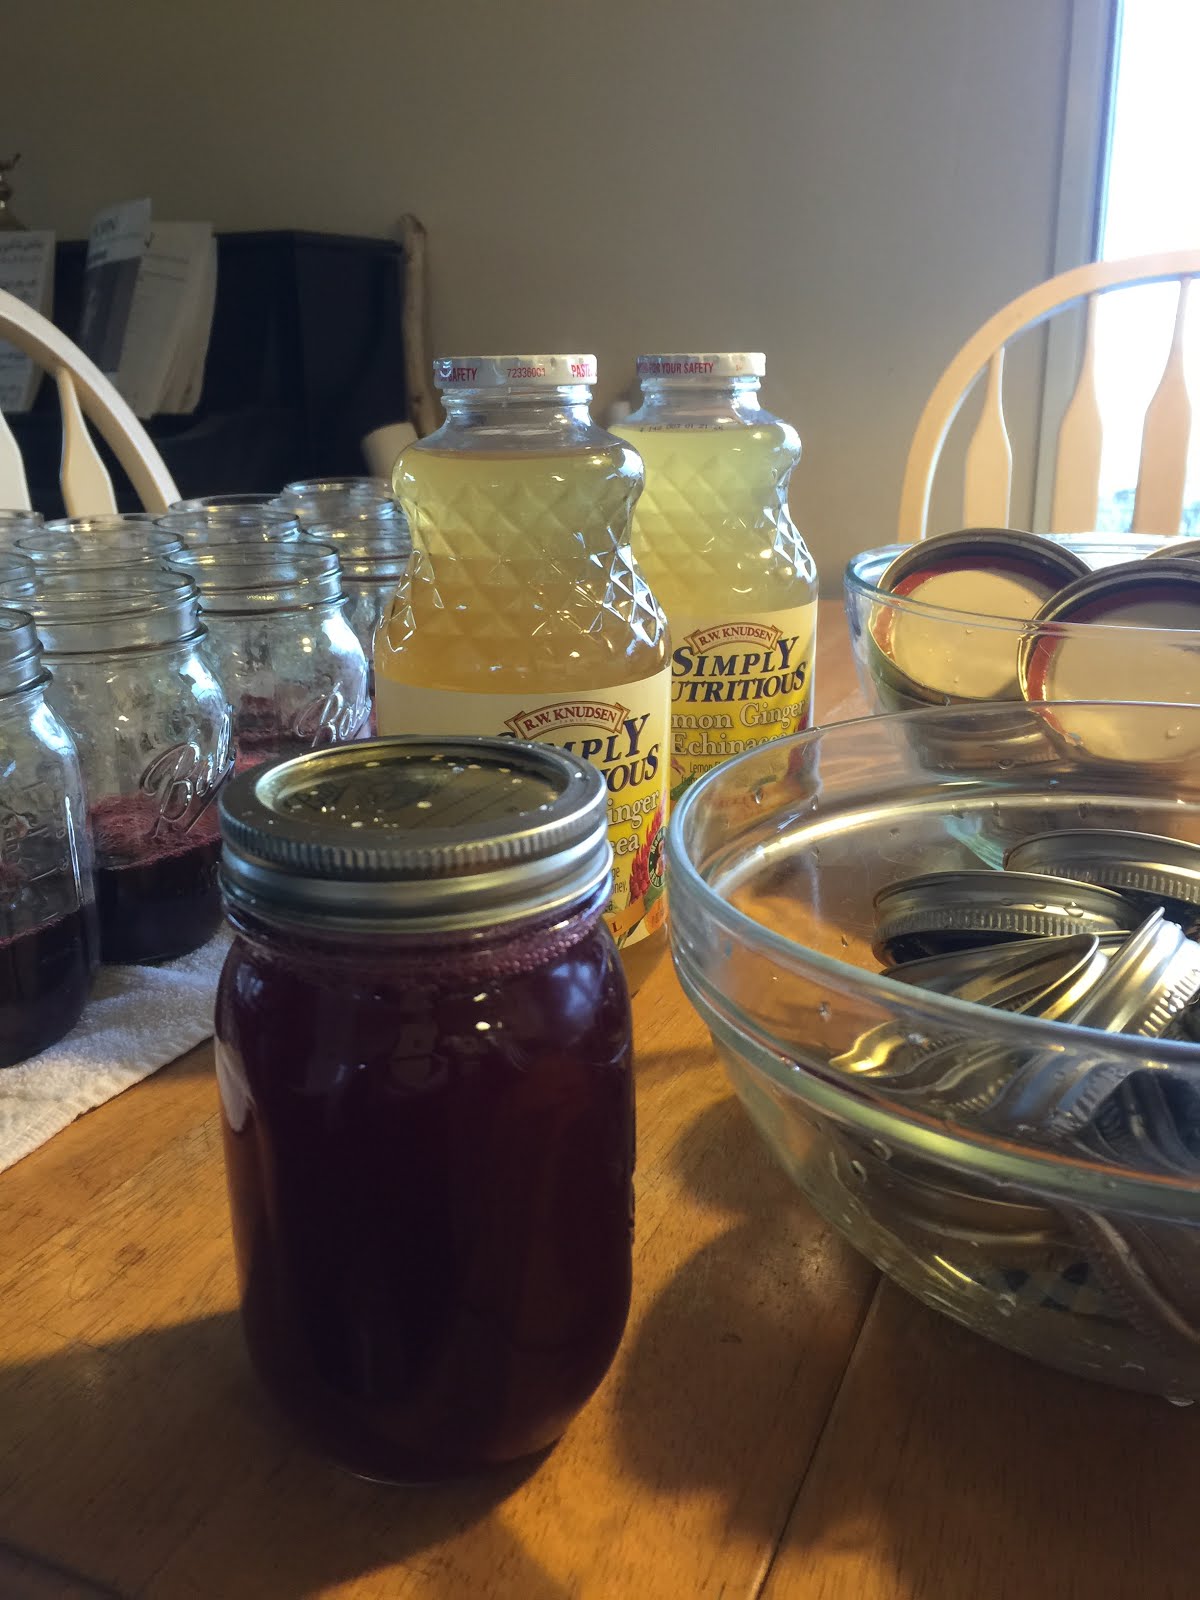 |
| HOME MADE BLUEBERRY JUICE AND STORE BOUGHT LEMON GINGER JUICE |
Over the years, lots of information has become available for improving home made kombucha. My most recent kombucha insights are thanks to:
- the post named "The Benefits of Kombucha" on the blog named WELLNESS MAMA
- the Facebook Group named KOMBUCHA NATION: CULTURES, HEALTH AND HEALING
- CONNIE OEN, a lovely local lady who added my name to the above Facebook group! Connie has posted some inspirational photos of her own successful brewing of powerfully flavorful kombucha. She graciously agreed to share a few photos with us. Look at that carbonation!

And, here are some inspirational bottles of kombucha Connie made with luscious flavors and colors:

GO FOR IT!!!
Thank you for a very interesting article on kombucha drink. I greatly appreciate the time you take to do all the research to put together your posts. I especially enjoyed this one!!
ReplyDelete