This post includes information about:
APPLE TREES
APPLE JUICE
APPLESAUCE
APPLE DESSERTS
DEHYDRATED APPLES
APPLE CIDER VINEGAR
Scroll down to read about any or all of these apple topics.
APPLE TREES
WILLIAMS PRIDE, PRISTINE, AKANE AND CENTENNIAL CRABAPPLE

We took the time to do a little research years ago and zeroed in on several apple varieties. Fortunately, most of our choices were good ones.
Unless you have a self-fertile variety, it is necessary to have at least two apple varieties growing in close proximity to each other to promote cross pollination. Otherwise, your blossoms simply will not develop into fruits.
If you intend to grow apples organically or simply want worry-free apple trees, it is important to choose disease-resistant varieties. You will want to be particularly careful that the varieties you choose are known to produce scab-resistant apples.
The rootstock selection is also important. According to an article in the KITCHENGARDENER MAGAZINE, "the more dwarfing the rootstock, the sooner the tree will fruit and the larger the fruit will be. The most dwarfing rootstocks are M27 and P16."
Because of the nature of dwarfing rootstocks, they often have small, short root bundles. Ordinarily, this would mean careful irrigation to insure enough moisture. However, this has not been a problem here in Sitka with our regular, heavy rainfall. But, staking is a very good idea in order to keep the trees upright during our high winds.
Usually in May, your apple trees will have their beautiful blossoms.
Below is a photo of apple blossom clusters. The blossom in the center of each blossom cluster, named the king blossom, usually blooms first. It typically makes the earliest, largest apple of the bundle:

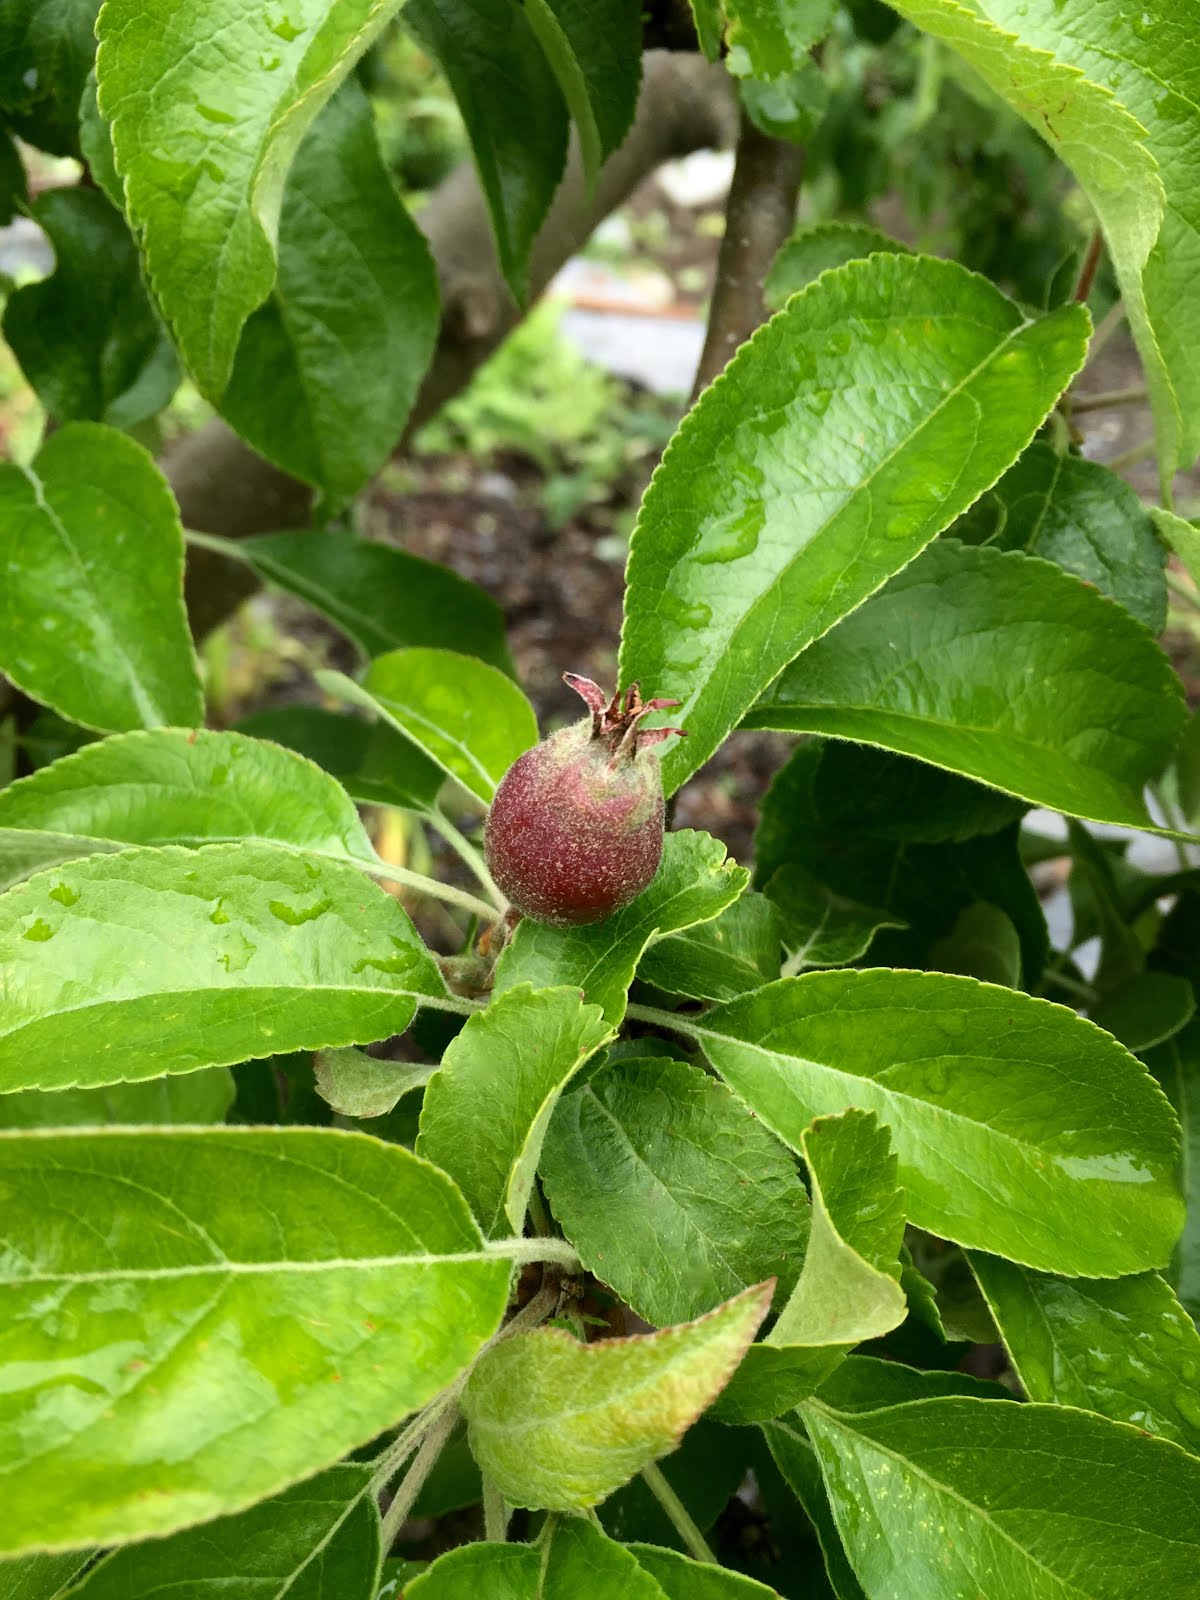
When the flower petals drop away, you will see that the bundle of flowers has transformed into a bundle of tiny apples!

Now, here is a tough recommendation to follow.
Soon after you see these little bundles of apples growing on your apple tree branches, you need to thin them. Yes, this means pinching or cutting off the little apples when they are less than an inch in diameter. This is usually five or six weeks after the petals drop off the tree. It is recommended that you remove all of the apples in the bundle except the largest one.
This is such an unpleasant task on so many levels! The benefit of this annual task is an increase in apple size and apple quantity for future years. However, you do not need to do this. The consequence will be tons of small apples.
Where to buy apple trees?
We purchased bare root trees from catalogs by mail order in the old days. Once Penny Brown opened Garden Ventures here in Sitka, we took advantage of her high quality, bare root selections... and her willingness to special order.
Thank you, Penny!
WILLIAMS PRIDE

Our Williams Pride apple trees (we have three mature) are incredibly generous! We planted carefully, following the directions for bare root trees. My only advice in this area is to not be overly nurturing. Healthy, fertile soil is a good idea. Just don't get carried away. Over-fertilizing a new bare root fruit tree is sure death! Trust me!
And, once you have planted your new, bare root tree, keep it watered well. There isn't much root there. It needs plenty of water for the first couple of months to become well established in its new soil.
After only three years of anticipation, we had a Williams Pride apple tree covered with blossoms.

Here are apple blossoms on our oldest Williams Pride tree at the end of May in 2011. So beautiful!

Here is a full view of that oldest Williams Pride tree in bloom.

We have been harvesting large, healthy William's Pride apples for nearly 20 years. The bright red apples are medium to large in size. A William's Pride apple is a delight to eat when it drops to the ground or fresh picked from the tree. Sweet, juicy and delicious!
Below is a William's Pride at age 10 years ready for a fall harvest:

William's Pride at age 15:

William's Pride at age 20:

William's Pride apples are also wonderful for baking, applesauce, dried or juiced. Expect to see them begin ripening on the tree in September.
 |
| Lots of smiles and lots of apples! Future graduates of Sitka High School Class of 2015. |
This particular William's Pride apple tree tipped over in the high November winds when it was about ten years old. We saw that the roots were still intact for the most part, so we left the tree to grow hanging over a rock wall. Since then, the apples have grown well... cascading over and resting on the stacked rocks.

PRISTINE
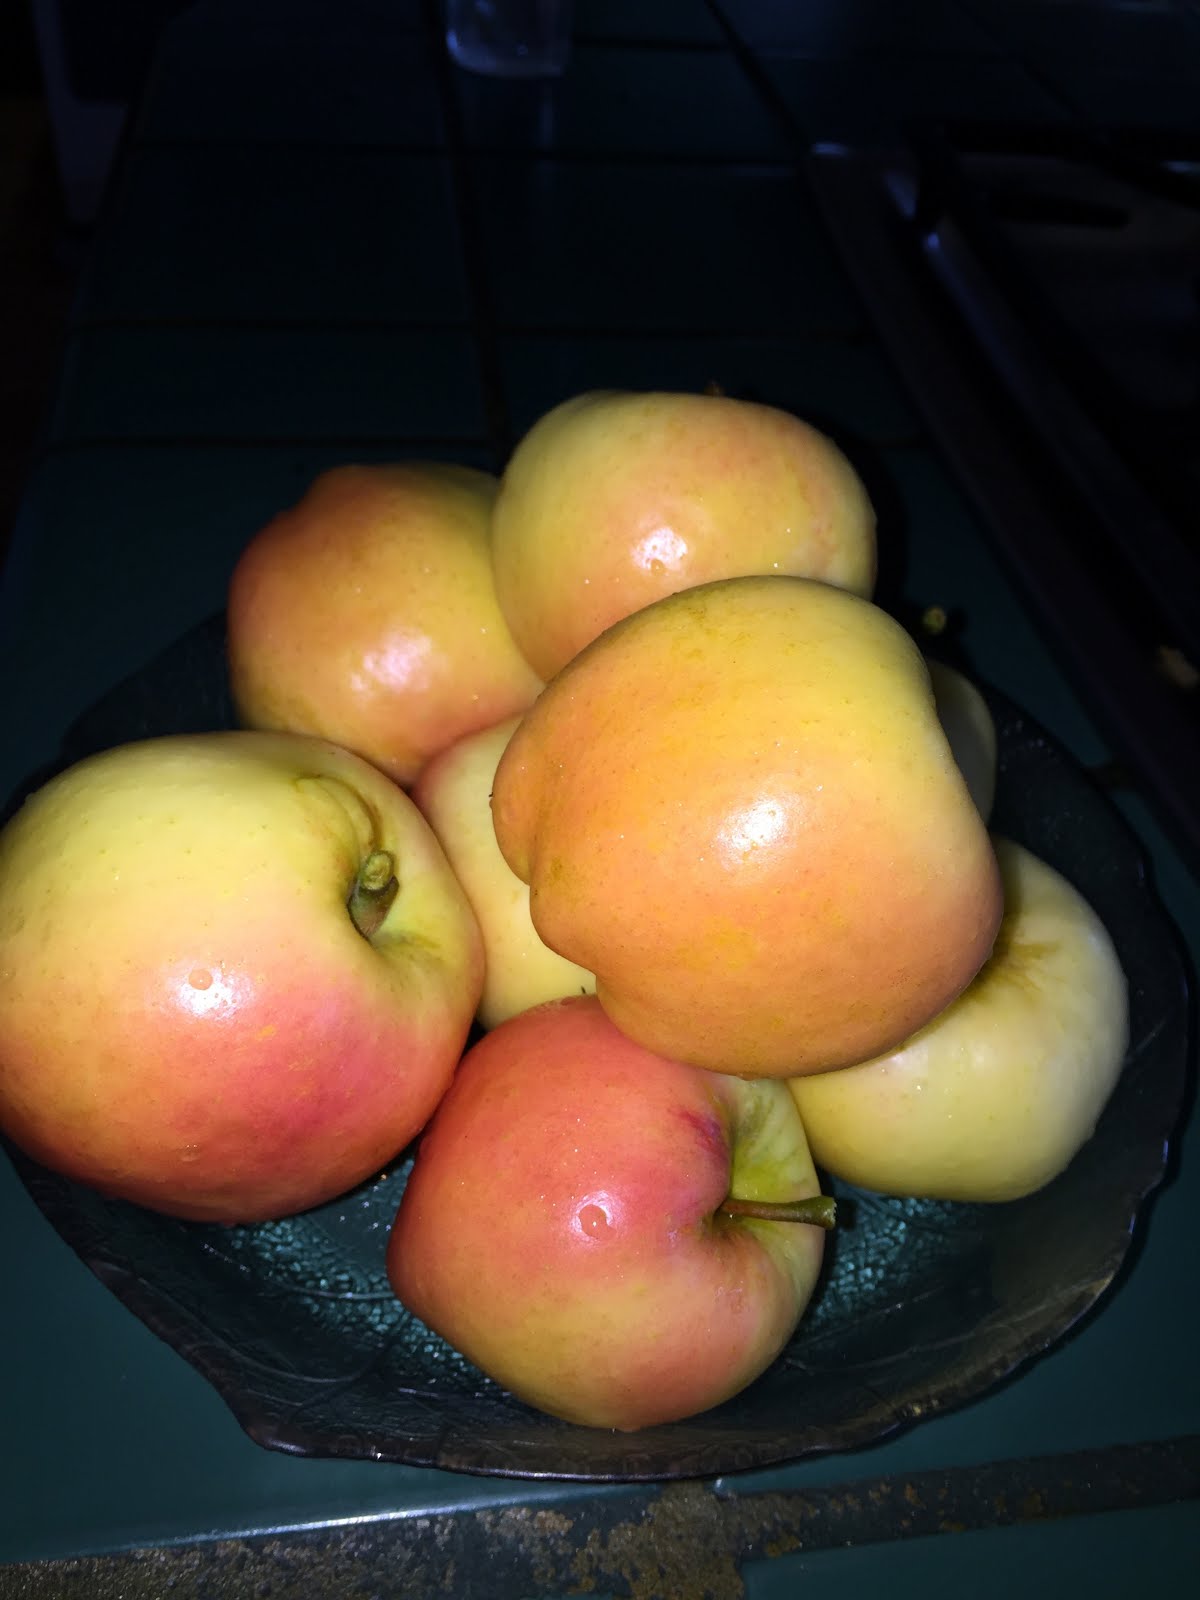
Along with William's Pride apples, we have been enjoying these flavorful, medium-sized Pristine apples for many years.
They will sometimes have a hint of pink on their sunny side, but are a true yellow apple.

Here is Pristine in the foreground in full bloom. That is William's Pride in the background with blossoms a deeper shade of pink.

Here are Pristine apples on the tree nearly ready for harvest.

Pristine apples begin ripening about the same time as William's Pride... mid-September.

Pristine apples are delicious eaten fresh, juiced, baked, dried and made into applesauce.
AKANE (pronounced ah-kah-nay)

We planted our Akane apple tree the same year as the Pristine and the first of our William's Prides. It grew at a much slower rate and is considerably smaller, but that's okay. The apples are not only beautiful, but they are sooo delicious! This medium-sized rosy apple is crunchy and flavorful.
The May blossoms on Akane are a lovely pink.

Akane apples start ripening a little later than William's Pride and Pristine...usually around late September or early October.

Akane apples are evidently irresistible to ravens and crows, too. As soon as they are sweet and ripe, the trees are full of black birds pecking away at the top of each apple! The birds show very little interest in the other apple laden trees. What the heck! I gave this problem considerable thought. The next year, just before ripening time, the Akane tree was wrapped in a length of floating row cover. Several other fruit trees were also wrapped, not because of birds, but because of high winds.

When the majority of Akane apples were ripe, off came the row cover and the apples were picked. No more topped out apples!

Akane apples hold on tight. Even when they are more than ripe, it takes a firm twist of the apple to get it to release from the branch. They have never dropped off on their own as with our other apple varieties. Big pick!

I love eating a fresh picked Akane apple! These apples are also great for juicing, dehydrating, applesauce and baking.
CENTENNIAL CRABAPPLE

A few years after planting the William's Pride, Pristine and Akane apple trees, I read about the Centennial crabapple in a catalog. It was described as a small, self-fertile tree with an enormous amount of blossoms. The delicious little apples have a taste similar to New Zealand apples.
We have seven of these little trees spread throughout our gardens in close proximity to the apple trees. It is likely that these trees, heavy with blossoms in May, are a big factor in the successful cross pollination of our apple trees. The blossoms always appear to be loaded with bees!

Centennial crabapples, so tiny in size, are the favorite of little hands. Not only are they delicious eaten fresh by young and old, they make a flavorful juice. Here they are cut in half and placed in the top of our juicer/steamer.

The steam from the boiling water in the lowest of three sections is forced up into the crabapples. The juice from the steamed crabapples drips down into the center container and then on out through the tube.

The Centennial crabapple juice is such a pretty color and really tasty.

SO MANY APPLES... SO MANY TREATS!
We had far more apples and crabapples than usual the fall of 2014.
Pretty sure it had to do with warmer spring weather. Not only were the trees filled with beautiful blossoms, but there were also so many pollinators buzzing around!
We made several cases of JUICE using quart jars. What a treat!
After making juice, I used the steamed apples from the top of the juicer/steamer to make APPLESAUCE.
I took the steamed apples out of the juicer/steamer top and filled a large bowl.

From the bowl, it was processed through the strainer attachment on my KitchenAid mixer.

The bowl on the left is the applesauce. On the right is the waste composed of apple skins and cores and seeds.

It is a delicious tradition to eat home made doughnuts with freshly made, warm applesauce:

So much applesauce! Good thing my family, friends and neighbors like applesauce!

PIE FILLING
There were still more apples to process, so I canned up a bunch of sliced, sweetened, spiced apples ready to go for pies and other baked goods.

A pie baked by a creative daughter:

And here is another of those baked goods using pre-made pie filling:
 |
| Biscuit topped apple delight |
DRIED APPLES
There were still more apples to process! Using a slicing attachment on my KITCHENAID, lots of apples were sliced.

As the apples are sliced, they are dropped into a bowl of water with a little lemon juice mixed in. This helps prevent the slices from turning brown. Finally, the slices are drained and carefully placed on the dehydrator shelves. I often sprinkle a mixture of cinnamon, ginger and nutmeg on the fresh apple slices.
The apple slices are dehydrated at 115 degrees for 24 hours or so... until they are dried to our liking.

A jar of the delightful finished product stored in a cool, dark location:

APPLE CIDER VINEGAR
After some research, I found a method of making apple cider vinegar that does not require added sugar. It's not that I am opposed to sugar. For my first attempt at making apple cider vinegar, I simply wanted to see if I could succeed using locally produced ingredients only. Sugar, as you know, is imported. If you choose to use sugar, as little as 1/2 cup per gallon of water will speed up the process considerably.
I cut up a bunch of our apples... enough to fill half of a large jar. Peels and scraps will work fine too. Choose any size jar you wish. I used two glass jars that hold three gallons each.
Before placing your cut up apples in the jar, spread them out on a clean surface until they turn a little brown from exposure to the air.
Fill the jar halfway with the apples. Add water nearly to the top. The apples will float up.

Cover the top of the jars with a paper towel or some kind of clean cloth to keep out dust, insects and other unwelcome stuff. In my photo, that's just a hollow ring holding the paper towel in place, not a lid. It needs to breathe. You could use a large rubber or elastic band to hold the paper towel or cloth in place.
The jars require a warm place. I put it on top of our refrigerator hoping it would be warm enough. Because heat rises, the higher above the floor, the warmer the temperature. I put the little bowls under the spouts only because I wasn't sure if they would leak. They didn't.
Every few days I lifted the covering. With a clean, long-handled spoon, I stirred the contents of the jar. Then I lowered the cover again.
This is all you need to do until the apples pieces drop down to the bottom of the jar. It is supposed to take several months for this to happen if you did not add sugar. It takes about a month if you did add sugar.
It took four months for all of the apple slices to drop to the bottom with these apples in these jars with no sugar added. It took a little longer than expected probably because we like our home to average about 68 degrees throughout the winter.

Once the apples have dropped to the bottom, remove the apples from the liquid. I scooped them all out with a large slotted spoon.

The liquid is apple cider vinegar!
Taste it. It may not be as strong as you would like. If it is not strong enough at this point, leave it in the jar in your warm location. It will gradually get stronger and stronger. Keep sampling until it is the strength you prefer.
Once the apple cider vinegar is to your liking, move it to a location that is cool and dark. Cover with a lid. Your apple cider vinegar will keep indefinitely. We transferred our apple cider vinegar into quart size canning jars with lids. We store the jars on shelves in our cool garage.
So simple and satisfying to have plenty of homemade apple cider vinegar!!!
WISHING YOU ALL MANY HAPPY APPLE HARVESTS!

awesome info
ReplyDelete